Key Takeaways
- Plug your monitor into the correct port to prevent graphics-related issues on your computer. Check the GPU port on the back of the case.
- Disable integrated graphics to free up RAM resources, prevent heating issues, and extend laptop battery life.
- Use the Device Manager or BIOS menu to disable integrated graphics. Restart your computer and check Task Manager or DirectX Diagnostic Tool to verify the dedicated GPU is being used.
Do graphics-intensive applications on your computer keep crashing? This usually happens when the app uses the integrated graphics card instead of the dedicated one. To prevent this from happening, you need to disable your integrated graphics card. Read along to learn how to do it.
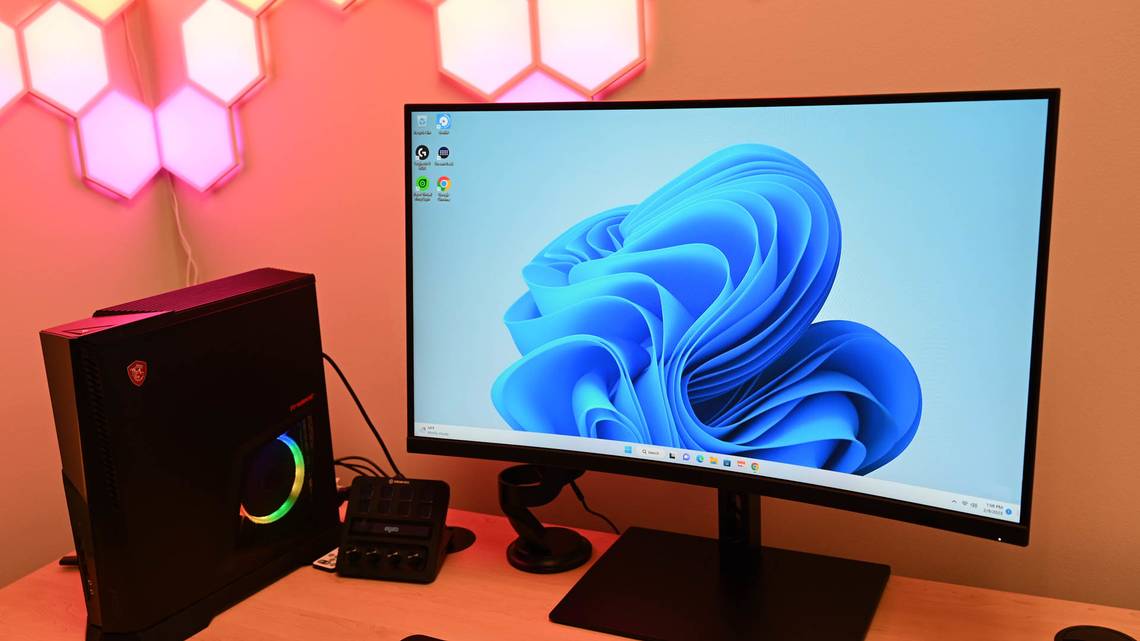
Is Your Monitor Plugged Into the Correct Port?
Before turning off your onboard graphics, make sure that you've plugged your monitor into the correct port. It's common to accidentally plug your monitor into the motherboard's iGPU port instead of the dedicated GPU port, especially if you're building your computer for the first time.
If you're confused about the difference between the iGPU and GPU ports, the GPU port is usually located on the back of your computer case and will be labeled with the name of your GPU, such as GeForce RTX 3050. The iGPU port is usually located on the back of the motherboard and is labeled with the motherboard manufacturer's name.
If you're still unsure, check your computer's documentation or contact the manufacturer's customer support for help.
Why Should You Disable Integrated Graphics on Windows
As we mentioned earlier, the primary reason to disable integrated graphics is to prevent graphics-related issues in apps. Graphics-intensive applications like games or video editing software often stutter or even crash when running on integrated graphics. This happens because integrated graphics cannot provide these applications' resources to run smoothly.
Additionally, turning off integrated graphics can free up RAM resources. Integrated graphics rely on your computer's RAM for VRAM to function properly. While desktop RAM is not the best alternative for VRAM, it works in this situation.
Because integrated graphics use system resources, it can sometimes cause heating issues and reduce laptop battery backup. You can disable integrated graphics to eliminate these issues.
Now that you know why you should disable your computer's integrated graphics, let's check out how to do it.
Disable Your Integrated Graphics Using the Device Manager
The quickest way to disable your integrated graphics is by using the Device Manager. To do that, press Windows + X to open the "Power User Menu" and choose "Device Manager."
In the Device Manager, double-click "Display adapters" to access its drop-down menu. Then, right-click your integrated graphics and choose "Disable device." Click "Yes" to the confirmation box that crops up.

You might need to restart your computer to see the changes.
Disable Your Integrated Graphics Using BIOS
You can also disable your integrated graphics through the BIOS menu. This will prevent Windows from automatically switching back to integrated graphics even after upgrading Windows. Not every BIOS menu includes this option, though, so you may have to stick with the Device Manager method.
This method is only safe if you have a dedicated GPU. If you disable onboard memory without having a dedicated GPU, your screen will go blank. The only way to fix this is to reset your BIOS.
The steps to disable integrated graphics vary depending on the manufacturer of your motherboard. However, the typical approach is to enter the BIOS menu by restarting your computer and repeatedly pressing the BIOS key (usually Delete, F2, or Esc) as soon as you see the manufacturer's logo. Once in the BIOS menu, access the "Advanced" settings window and disable the internal graphics option.
How to Check Which Graphics Card Is Being Used
Once you have disabled the iGPU, you can use Task Manager or the DirectX Diagnostic Tool to check that your computer is using the dedicated GPU.
To check using Task Manager, press Ctrl+Shift+Esc key together to open the "Task Manager" and click the "Processes" tab in the left sidebar. In the GPU Engine column, you will see the name of the GPU that is being used by each application. If you have disabled the iGPU, all applications that require a GPU to function should be using your dedicated GPU.

To check using the DirectX Diagnostic Tool, open the "Start" menu, type "dxdiag", and press Enter. Click on the "Display" tab. In the Device section, you'll see the name of the graphics card that your computer is using.

That’s how you can disable your integrated graphics card and verify that your computer is using the dedicated one. Now, you can enjoy games and graphics-oriented applications without any hiccups.