Key Takeaways
- The "Displays" page in macOS Settings does not provide the actual video output resolution, but rather a collection of scaling options that can be easily confused for display resolution.
- To check your Mac's actual video output resolution, go to the "General" tab in Settings, then select "About" to see the monitor listed with its video resolution.
- If your Mac isn't outputting at 4K or the content on your 4K monitor looks terrible, it may be due to a faulty video cable, dongle, or USB hub. Consider testing them with another 4K video source, updating the monitor's firmware, and/or replacing the video cable.
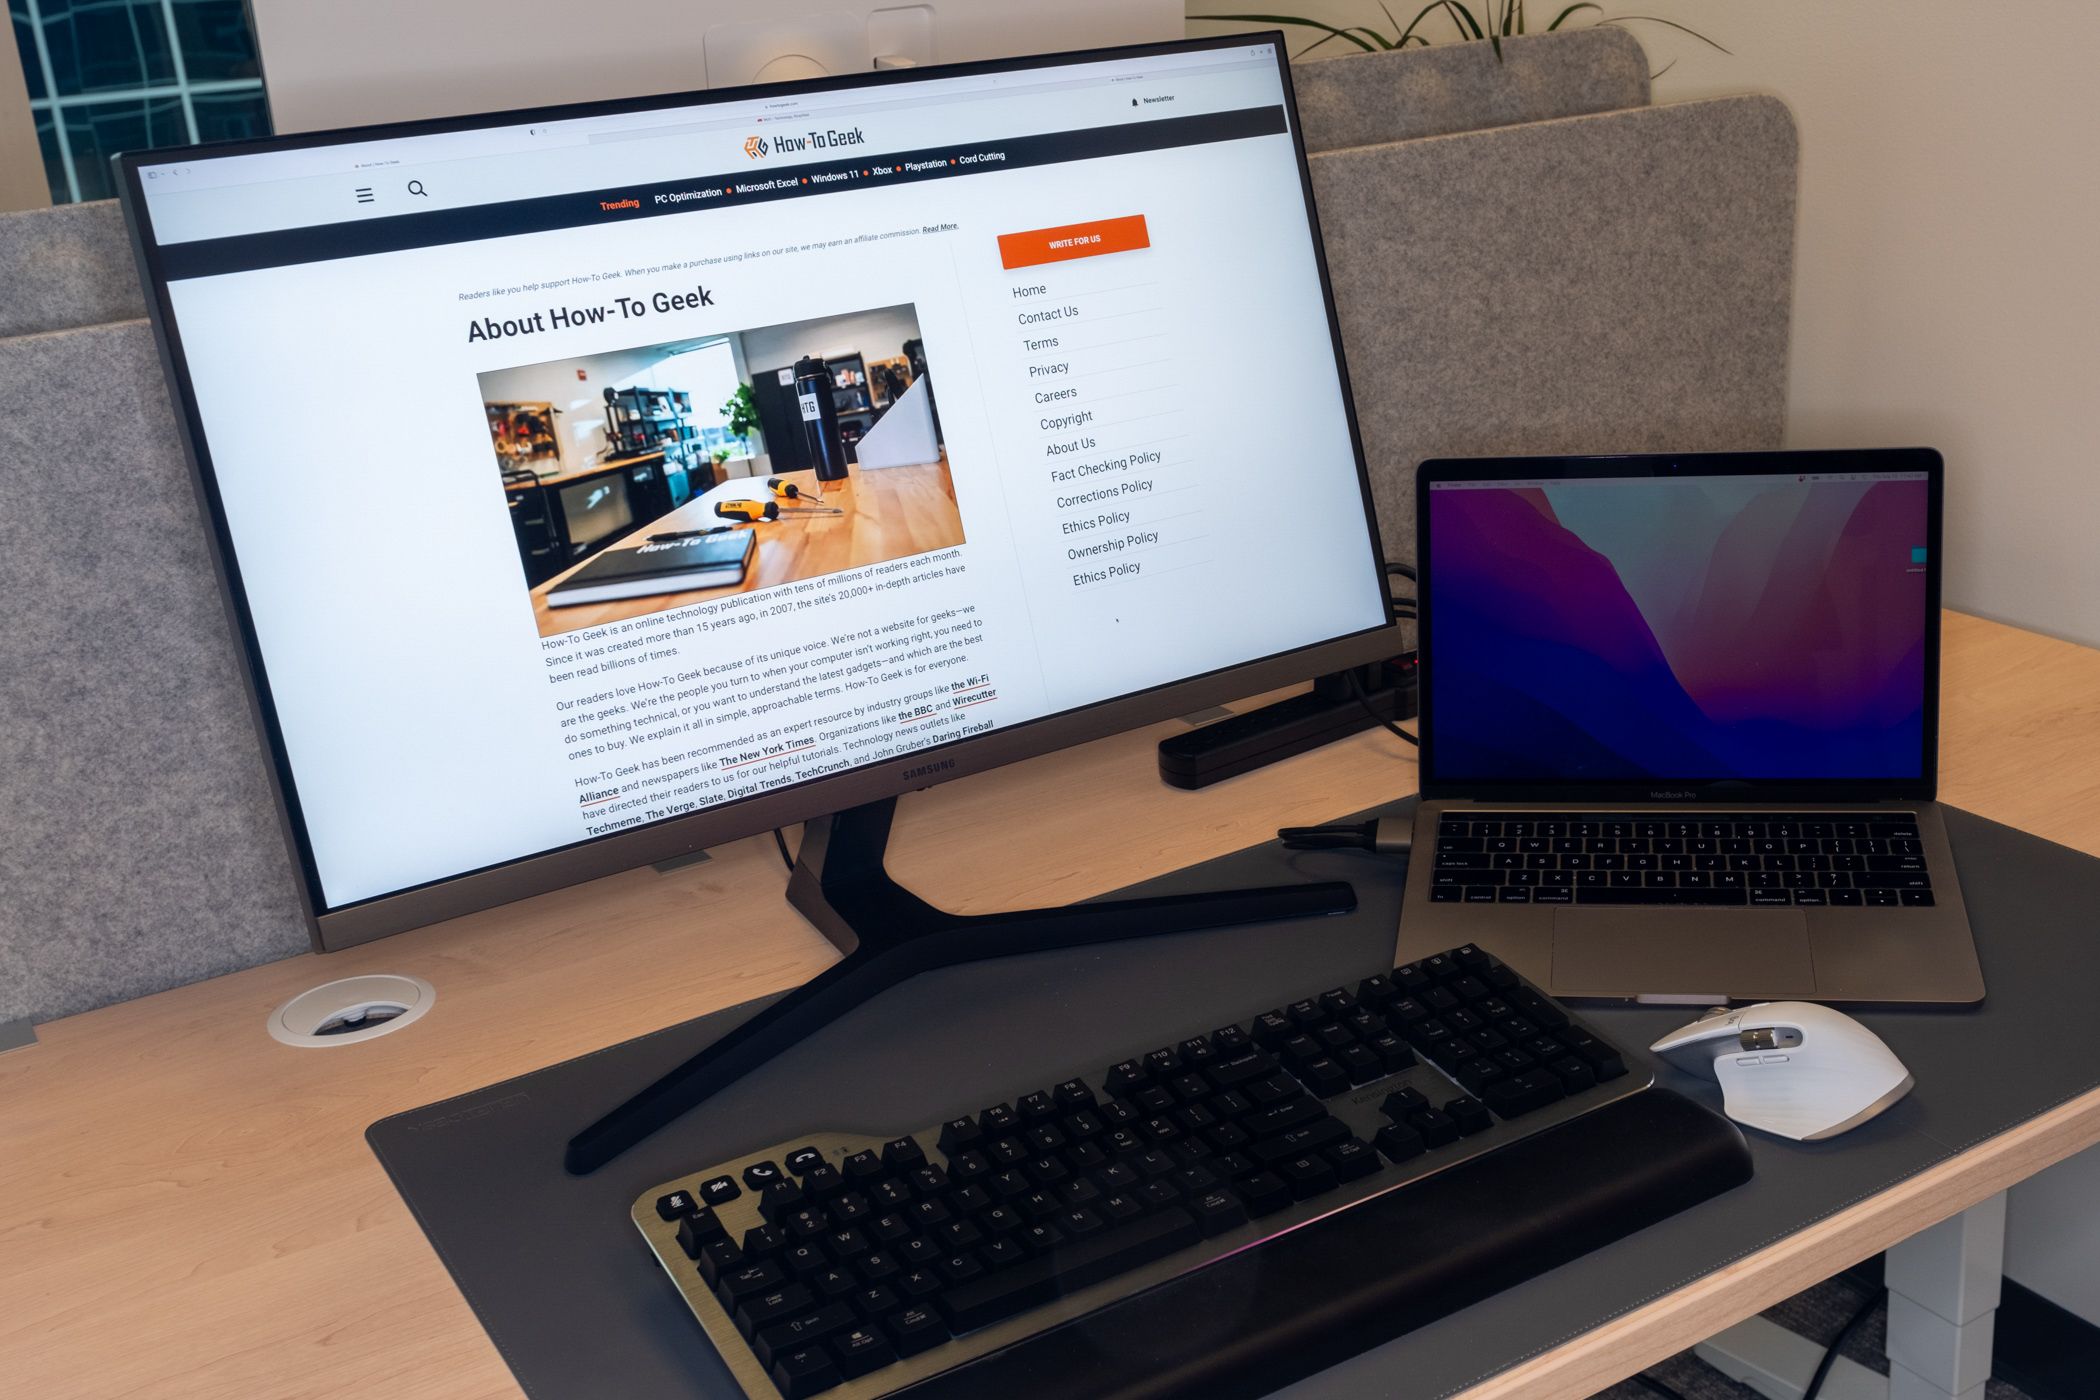
Upon connecting your Mac to a 4K monitor, you may find that your display settings show an incorrect resolution. This is usually due to a misunderstanding or genuine problem—you're reading the wrong settings or need a new video cable. Here's how to tell which situation you're in.
You Might Be Reading the Wrong Settings
First, we want to check where you're getting the information. Good news! You might be looking in the wrong place, but that means there's nothing to fix. Here's why people get easily confused about this issue, though.
The "Displays" page in macOS Settings does not list your actual video output resolution. Instead, it provides a collection of scaling options. When you hover over the default scaling option, it will usually be set to 1080p. This is a major source of confusion for some Mac users, especially those who switch to a high-resolution scaling option and find that all on-screen items become half their original size.
Scaling is an odd thing that most users shouldn't worry about. The quick and dirty explanation is as follows: let's say you have a 4K monitor and a 1080p monitor of equal size. The 4K monitor contains four times more pixels than the 1080 monitor. So, an image or font that is 10 pixels tall will appear four times smaller on your 4K screen. Instead of forcing 4K monitor owners to keep a magnifying glass on hand, macOS uses a 1080p scaling option to make fonts, icons, and other UI elements appear at a "normal" 1080p-like size.
This setting only affects UI elements and does not impact YouTube videos, wallpapers, or other content that you want to see at native 4K resolution. (A high-resolution scaling option may be appropriate when connecting your Mac to a large monitor or 4K TV.)
To check your Mac's actual video output resolution, open Settings and click the "General" tab in the sidebar. Then, select "About." You'll see your monitor listed alongside its video resolution. Note that "4K" refers to both 4096 x 2160 and 3840 x 2160 resolutions. Consumer-grade devices usually use the latter option, so if you see 3840 x 2160 your monitor is connected and functioning as expected.
If your Mac isn't outputting at 4K, or the content on your 4K monitor just looks terrible, your video cable, dongle, or USB hub may be to blame.
Your Video Cable or Dongle Might Be at Fault
Video cables typically last nearly forever, but they can wear out if stressed or be otherwise damaged. Further, some cables don't support 4K resolution. The same is true for dongles and USB hubs. If possible, test your video cable or USB hub with another 4K video source—this is hard to do without another Thunderbolt-enabled computer, though. You should also install any firmware updates that are available for your monitor, plus the manufacturer's macOS color profile. These materials should be available on the manufacturer's website. I've fixed some crazy problems just by updating (or reinstalling) my monitor's firmware so that's certainly a good place to start.
If you've determined that your video cable or USB hub is the problem, it's time to buy a replacement. Now's a good opportunity to look at your monitor's port selection and see if it has a Thunderbolt port (a USB-C port with a lightning bolt logo). The Thunderbolt port facilitates high-resolution video transfer, and more importantly, it allows your Mac to use any of the USB or Ethernet ports that are installed in the monitor (it can also charge your MacBook). Thunderbolt is the most straightforward display option for Mac owners, though it requires a Thunderbolt cable, which can be a bit costly.
If your monitor doesn't have a Thunderbolt port, try a Thunderbolt to DisplayPort 1.4 or Thunderbolt to HDMI 2.1 cable. These cables eliminate the need for a USB hub and are relatively inexpensive. Those who prefer to use a USB hub should buy one that explicitly supports 4K 60Hz video (or better) from a Mac—options from Plugable, Satechi, and UGREEN will do just fine.
And, if you want to connect multiple monitors with an M1 or M2 Mac, a DisplayLink docking station is your best bet. The Apple Silicon platform has some external display limitations, but DisplayLink software can get around the problem and set you on the path to an extreme multi-monitor setup. We've got a full guide on this subject, but I'll save you some time by suggesting the Satechi Triple 4K Display Docking Station and Plugable USB-C Triple Display Docking Station.
Note that macOS can be really picky with external monitors. If you've determined that video cables aren't the problem (or you just have a bad feeling about your monitor), perform a Google Search for the monitor's model number along with terms like "macOS problems" or "macOS fuzzy."

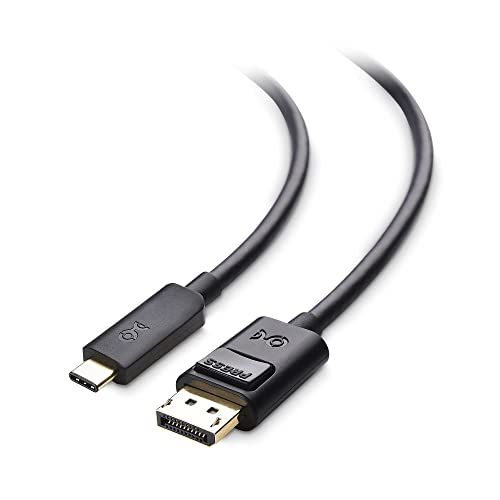
Cable Matters USB C to DisplayPort 1.4 Cable
Skip the dongle and connect your MacBook directly to your monitor's DisplayPort input. This cable supports video resolutions up to 8K 60Hz. It also enables screen mirroring on USB-C iPhones.

Satechi Triple 4K Display Docking Station
The Triple 4K Display Docking Station adds an array of USB-C and USB-A ports to your MacBook, plus a gigabit Ethernet jack and 100-watt passthrough charging. But, more importantly, it uses DisplayLink software to get around Apple Silicon's external display limitations—it lets you connect up to three 4K 60Hz monitors to your M1 or M2 Mac.


